Playing to Get Creativity Flowing
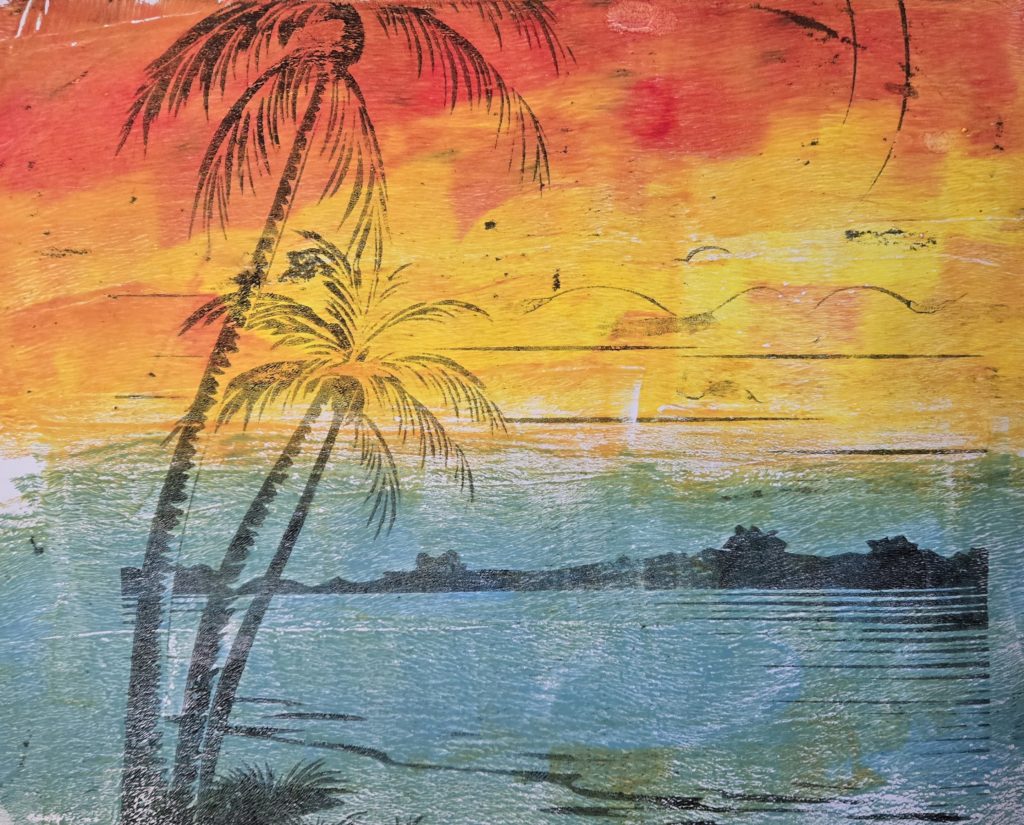
Sometimes it is nice just to set the serious painting aside and just have some fun. I bought an 8 x 10-inch gelli plate recently. This art form required a whole new set of tools like stencils, stamps, and anything to make interesting marks or patterns in the layers. There is a little learning curb to successful image transfers. In this post I aim to show my first success with an image transfer with a layer of paint on top.
The only limitation is your imagination after learning a few basics: (This is just a few suggestions to start) There are many good tutorials on YouTube.
Basic Tools needed: The gelli plate, Brayer, wipes to clean the plate, paper to get rid of excess paint (copy paper is fine), items to make patterns in the paint, pictures to use for transfer, and acrylic paint of any kind. (Other mediums possible)
A quick guide to get started:
- When it comes to adding paint on the gelli plate – less is more.
- The first layer is the first layer to show through so start with darker colors and go lighter on each successive layer.
- Let the paint dry before adding next layer.
- When pulling a print off the gelli plate, a second medium, like acrylic paint, is always needed.
- Apply the paint thinly and pull the print quickly.
- Once the image is placed on top of the gelli plate, use your hands to rub and smooth the back of the image down similar to attaching wall paper to a wall.
- Lift one corner to see if the image has transfer. If not smooth it some more and when it is ready, peal the image off.
- Let the paint dry if you plan to add another layer.
- If using charcoal, apply it thickly, and place on gelli plate without paint.
Note also the care of your gelli plate:
- Know your environment: the plate could dry out with fan or dry weather, humidity is your friend.
- Baby oil or baby wipes can be used to clean the plate. Also water and soap works well.
- Keep the plastic case the plate comes with to keep it from drying out. Always put the gelli plate back in the case when you are done.
I was able to do my first image transfer using the gelli plate with the basic steps listed above. There is more to learn and to experiment with. Have fun!